

Overview
9Pic Certify generates personalized certificates for participants — finisher certificates, participation certificates, and similar — and distributes them alongside event photos. Certificates can pull in dynamic fields like name, event, category, and finish time from a connected data source. Open it from an event’s product navigation: 9pic Certify.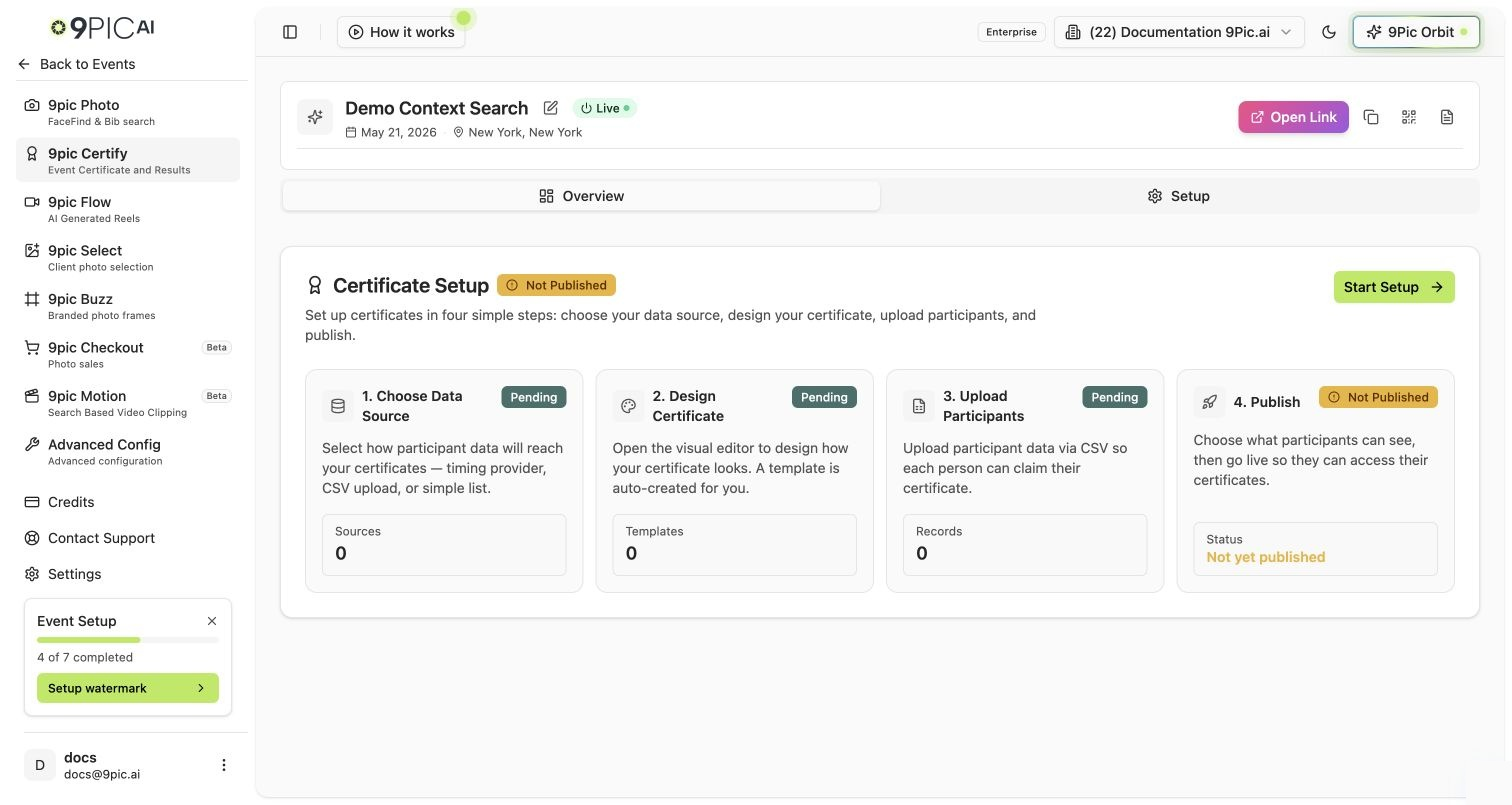
Certify overview
How Certify Is Organised
Certify uses progressive disclosure — the tabs you see depend on how far you’ve set it up:
“Initial setup complete” means you have at least one data source, one certificate template, and one participant record. Until then, the Setup wizard guides you through those three things. Once done, the Setup tab is replaced by the three working tabs.
Getting Started
1
Confirm your plan
Certify needs the Pro plan or above. Upgrade from Credits if it’s locked.
2
Run Setup
Open the Setup tab and follow the wizard — connect a data source, design your certificate, and add records. See Certify Setup.
3
Refine and publish
Once setup is complete, use Certificate, Records, and Publish to refine templates, manage records, and distribute.
Common Questions
Do I need timing or result data?
Do I need timing or result data?
Only if your certificate template includes fields like finish time or category. For a simple participation certificate, a participant list is enough.
Why don't I see the Certificate, Records, and Publish tabs?
Why don't I see the Certificate, Records, and Publish tabs?
They appear only after initial setup is complete (a source, a template, and at least one record). Finish the Setup wizard first.
Can I regenerate certificates?
Can I regenerate certificates?
Yes. Update the template or records and re-publish.
Next Steps
Certify Setup
The first-time wizard: source, template, records.
Certificate Design
Data sources and certificate templates.
Records
Participant records and result CSV uploads.
Publish
Distribute certificates to participants.