Overview
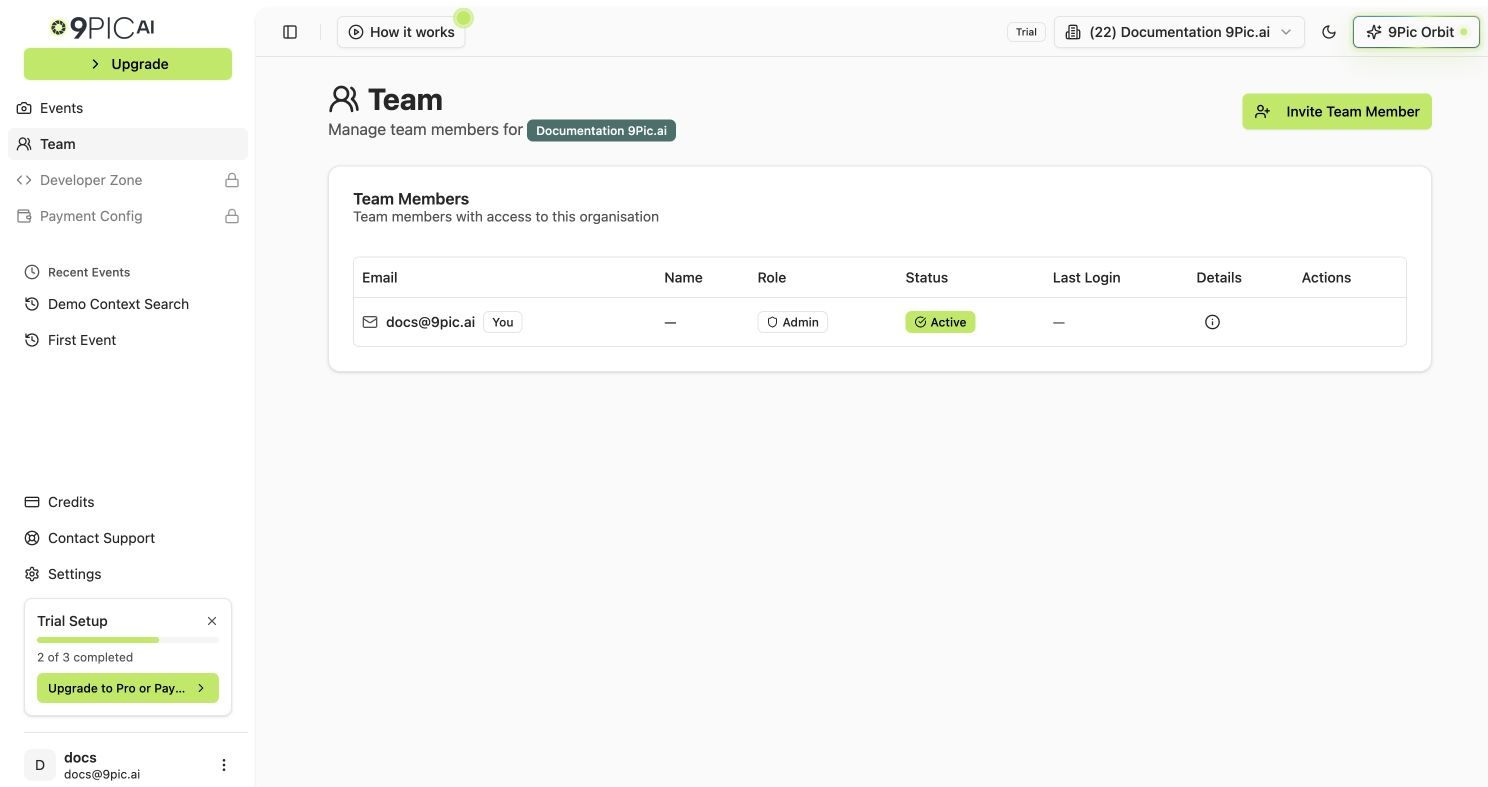
The Team page lets admins invite people to an organisation without sharing passwords. Each teammate gets their own 9Pic account and their own access record.Team access is organisation-specific. If you manage more than one organisation, make sure the correct one is selected in the sidebar before inviting or removing anyone.
Roles
| Role | What they can do |
|---|---|
| Admin | Invite team members, resend invites, copy invite links, remove members, and manage team access. |
| User | Work in the organisation, view and manage events, and use event workflows. Cannot manage team access. |
Invite a Team Member
The invite dialog checks the email address first, then shows the right next step based on what it finds.Enter the email address
Type the teammate’s email address. Press Tab or click outside the field so 9Pic can check the email. A small loader appears while the check runs.
Review what 9Pic finds
The dialog reacts to the result:
- New email — a confirmation message appears and you can pick a role and send the invitation. The teammate sets their name and password when they accept.
- Already has a 9Pic account elsewhere — a card appears with the role picker and a Send invitation to join my organisation button. They still receive an invite they must accept.
- Already a member of this organisation — an info alert tells you no new invite is needed.
- Pending invitation — an alert tells you to resend the invitation from the team list (see below).
Choose the role
Select User (can view and manage events) or Admin (can manage team members) from the role dropdown.
Names are no longer collected in the invite form. New users set their first and last name when they accept the invitation.
Invitation Statuses
The Team table shows each member’s email, name, role, status, last login, details, and available actions.| Status | Meaning |
|---|---|
| Pending | The invite has been sent but not yet accepted. |
| Active | The person has accepted and can access the organisation. |
| Inactive | The account is not currently active for this organisation. |
Resend or Copy an Invite
Admins can help pending invitees from the Actions column on the member row.- Copy Link copies the invite URL to your clipboard. If your browser denies clipboard access, the dashboard shows the link in a toast so you can copy it manually.
- Resend sends the invitation email again.
- Resend is limited to 3 attempts per invite. After the third attempt the row shows Max resends and you should use Copy Link or contact support.
Remove a Member
Common Questions
Why can I not see Invite Team Member?
Why can I not see Invite Team Member?
You are probably not an admin for the selected organisation. Ask an organisation admin to invite you, or contact 9Pic support if you believe this is wrong.
Can someone have different roles in different organisations?
Can someone have different roles in different organisations?
Yes. When you invite an existing 9Pic user, the role you pick applies only to your organisation. Their role in other organisations is independent.
What happens when the email is already a member?
What happens when the email is already a member?
The invite dialog shows an info alert saying the user is already a member, and no new invitation is sent.
Can I change a role after inviting someone?
Can I change a role after inviting someone?
The current Team page does not provide a role-edit button. To change a role, remove the member and invite them again with the new role, or contact 9Pic support.
The teammate's invite has expired or hit the resend limit. What now?
The teammate's invite has expired or hit the resend limit. What now?
Use Copy Link to share the invite URL directly with the teammate. If the link no longer works, contact 9Pic support.
Next Steps
Account
Manage your own account menu and profile.
Contact Support
Get help with pending invites or access changes.