Overview
Payment Configuration is where you set up the payment gateways your organisation uses, then map them to events. It powers 9Pic Checkout: you create a gateway here once, then assign it to individual events. Open it from Payment Config in the dashboard sidebar (or the Payment Config card on the dashboard home).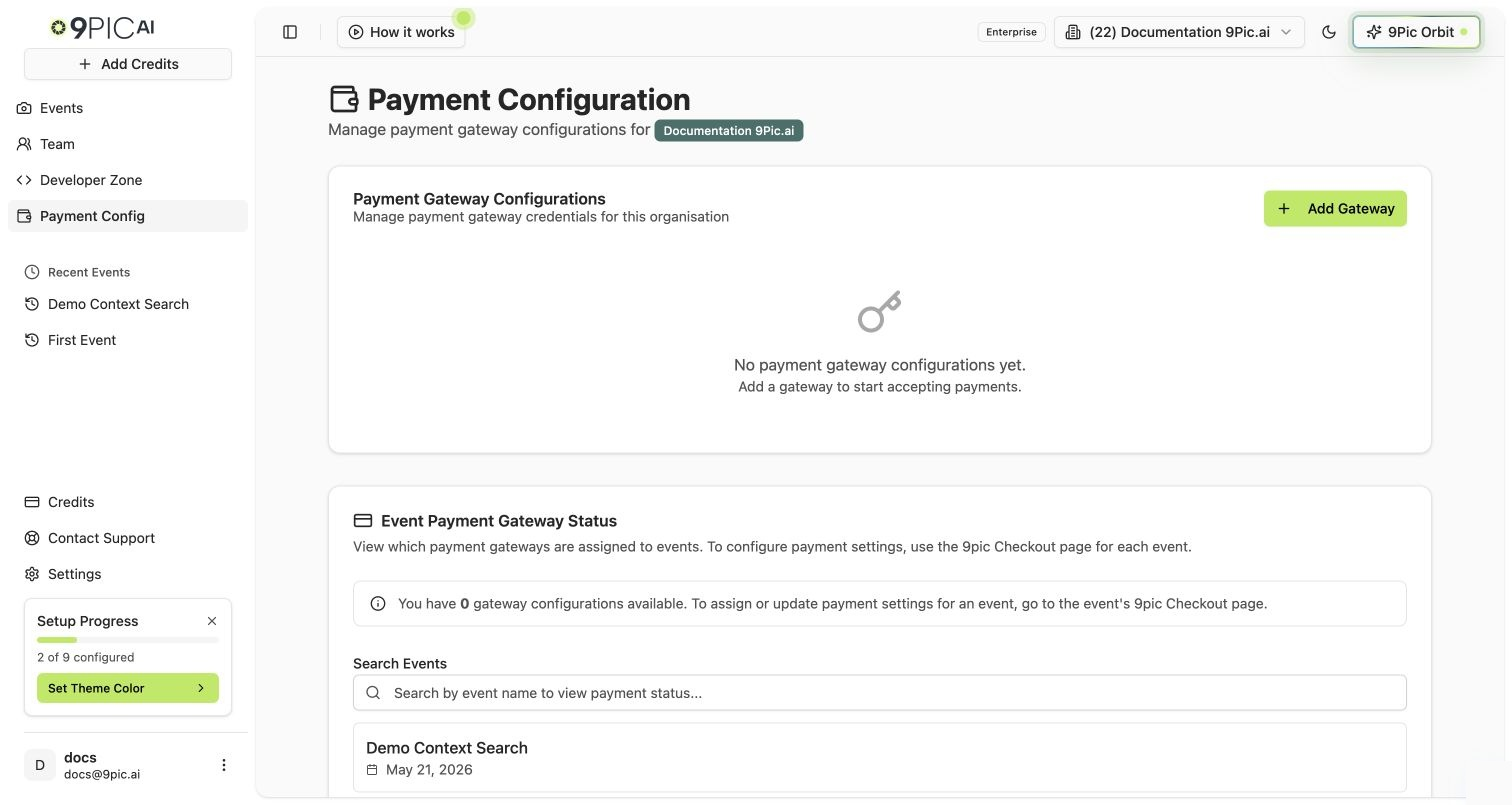
Gateway Configurations
The first section lists your gateway configurations and lets you add or edit them.We give clear, gateway-specific instructions during setup. Keep API keys and secrets safe — treat them like passwords and never share them outside your admin team.
Event Mapping
The second section maps events to a gateway configuration, so each event’s checkout routes payments to the right account. This is the organisation-level counterpart to the per-event gateway assignment you do on the Checkout Configuration tab.Who Can Access It
| Requirement | Detail |
|---|---|
| Plan | Enterprise only |
| Role | Team admin (or 9Pic staff) |
| Organisation | One must be selected in the top bar |
Next Steps
9Pic Checkout
Sell photos, videos, and certificates per event.
Checkout Configuration
Assign one of these gateways to an event.