Overview
The Setup tab is a guided wizard that appears the first time you use Certify for an event. It walks you through the three things Certify needs before it can publish: a data source, a certificate template, and at least one participant record. Once all three exist, the Setup tab disappears and is replaced by the Certificate, Records, and Publish tabs.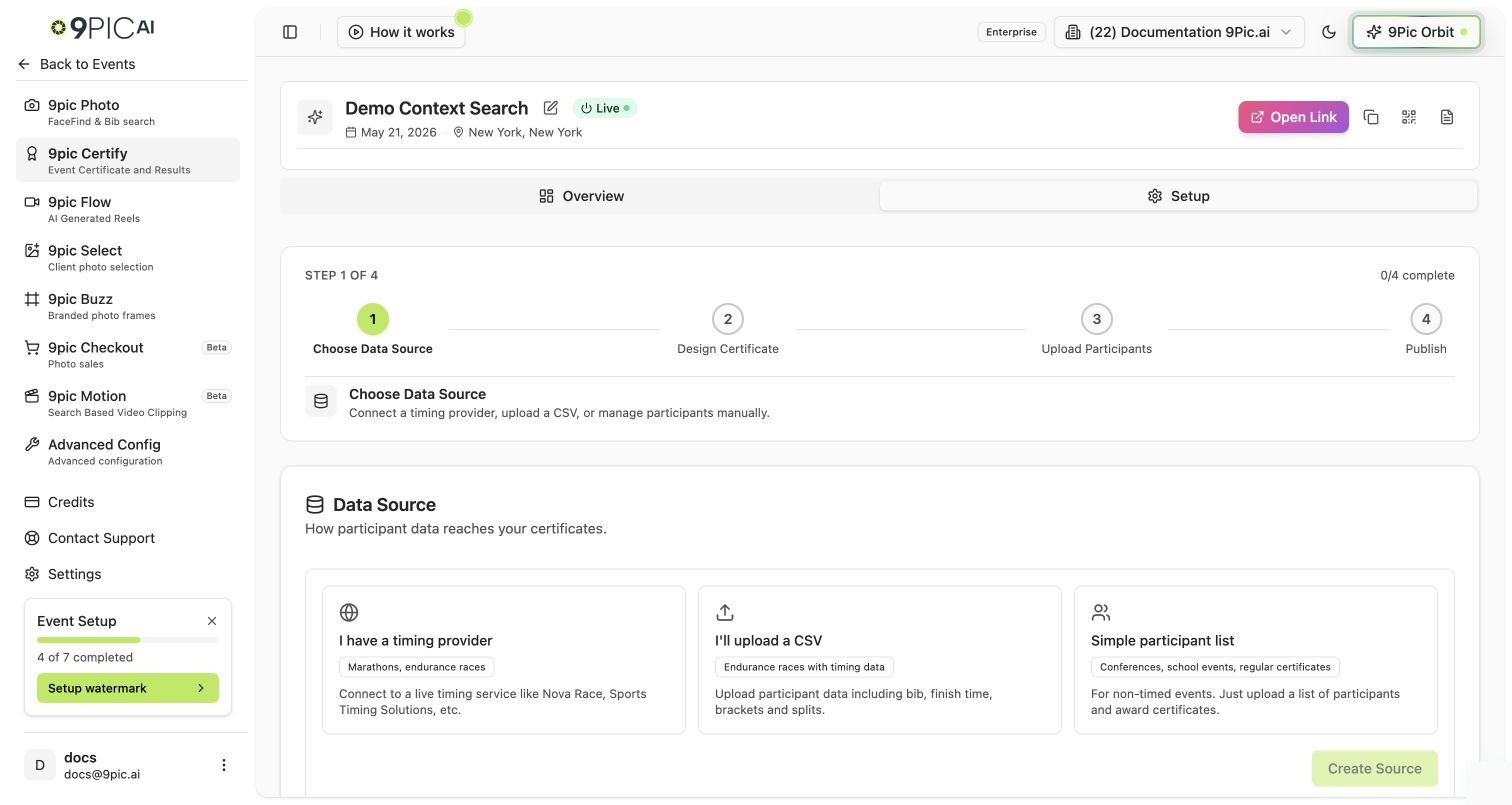
The Wizard Steps
Connect a data source
Add the source that holds your participant or result data. Depending on the source type you can pull data automatically or upload it yourself (CSV).
Design a certificate template
Create a template: choose a background, place dynamic fields (name, event, category, time), and style the text. You can create more than one template for different categories.
The wizard is considered complete once you have at least one source, one template, and one record. After that, manage each piece from its dedicated tab.
Common Questions
The Setup tab disappeared — where did it go?
The Setup tab disappeared — where did it go?
That’s expected. Once you have a source, a template, and a record, Setup is replaced by Certificate, Records, and Publish. Use those to make changes.
Can I add more templates later?
Can I add more templates later?
Yes. Open the Certificate tab to add or edit templates at any time.
Next Steps
Certificate Design
Data sources and certificate templates.
Records
Participant records and result CSV uploads.