Overview
The Branding tab lets you control Watermark & Branding and the Event Banner shown on the gallery page. Use this before you start processing photos.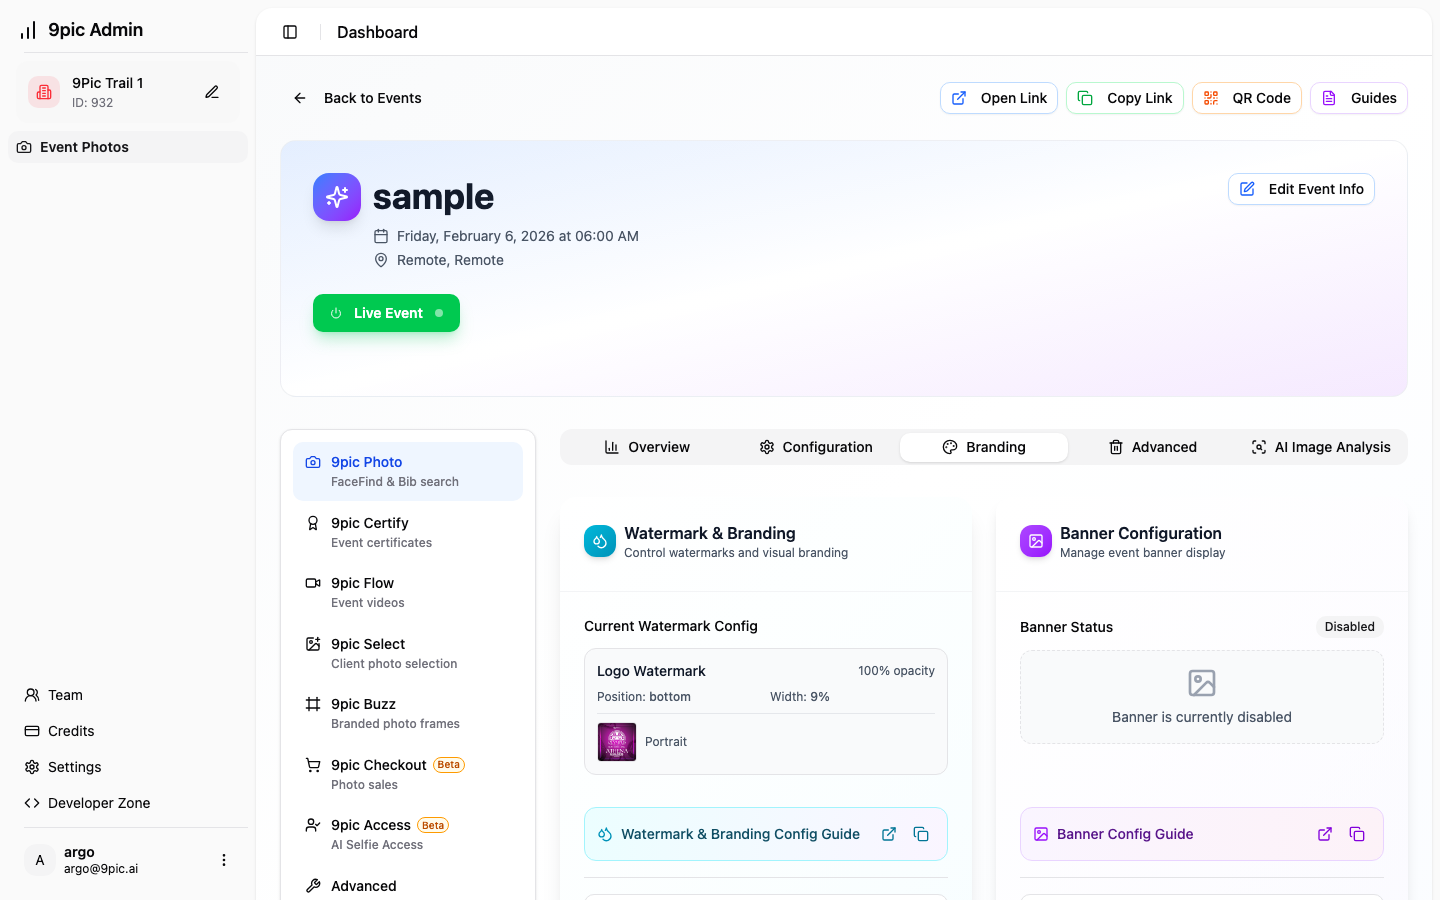
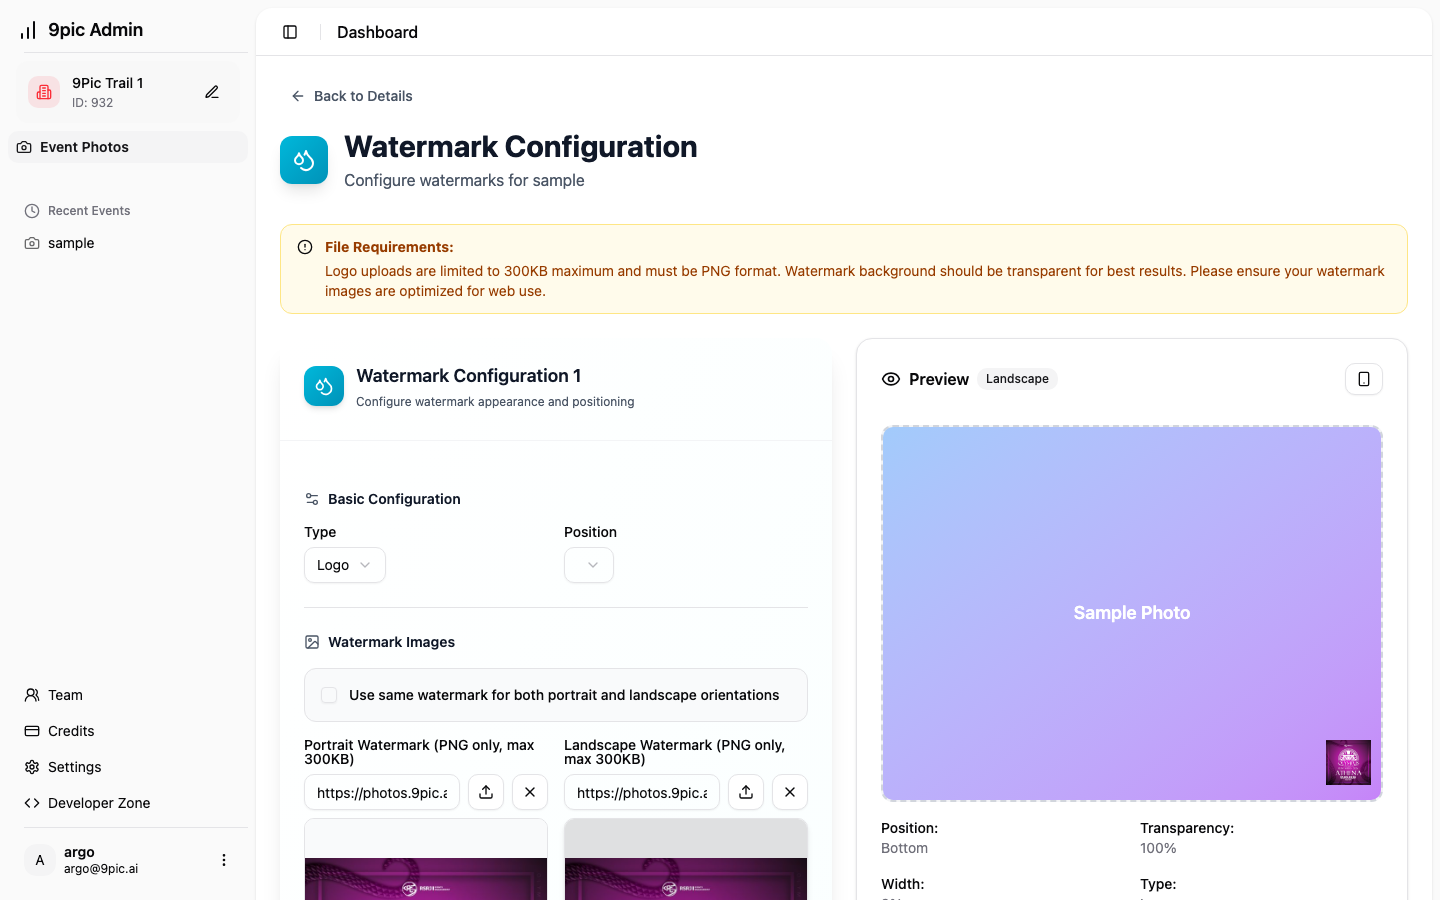
Watermark & Branding
Use Configure Watermark to open the watermark setup screen, where you can:- Upload logo or text watermarks
- Set position, size, and transparency
- Preview on portrait and landscape images
Banner Configuration
Use Configure Banner to upload a hero banner for the event page. The banner opens in a modal and can be enabled/disabled per event.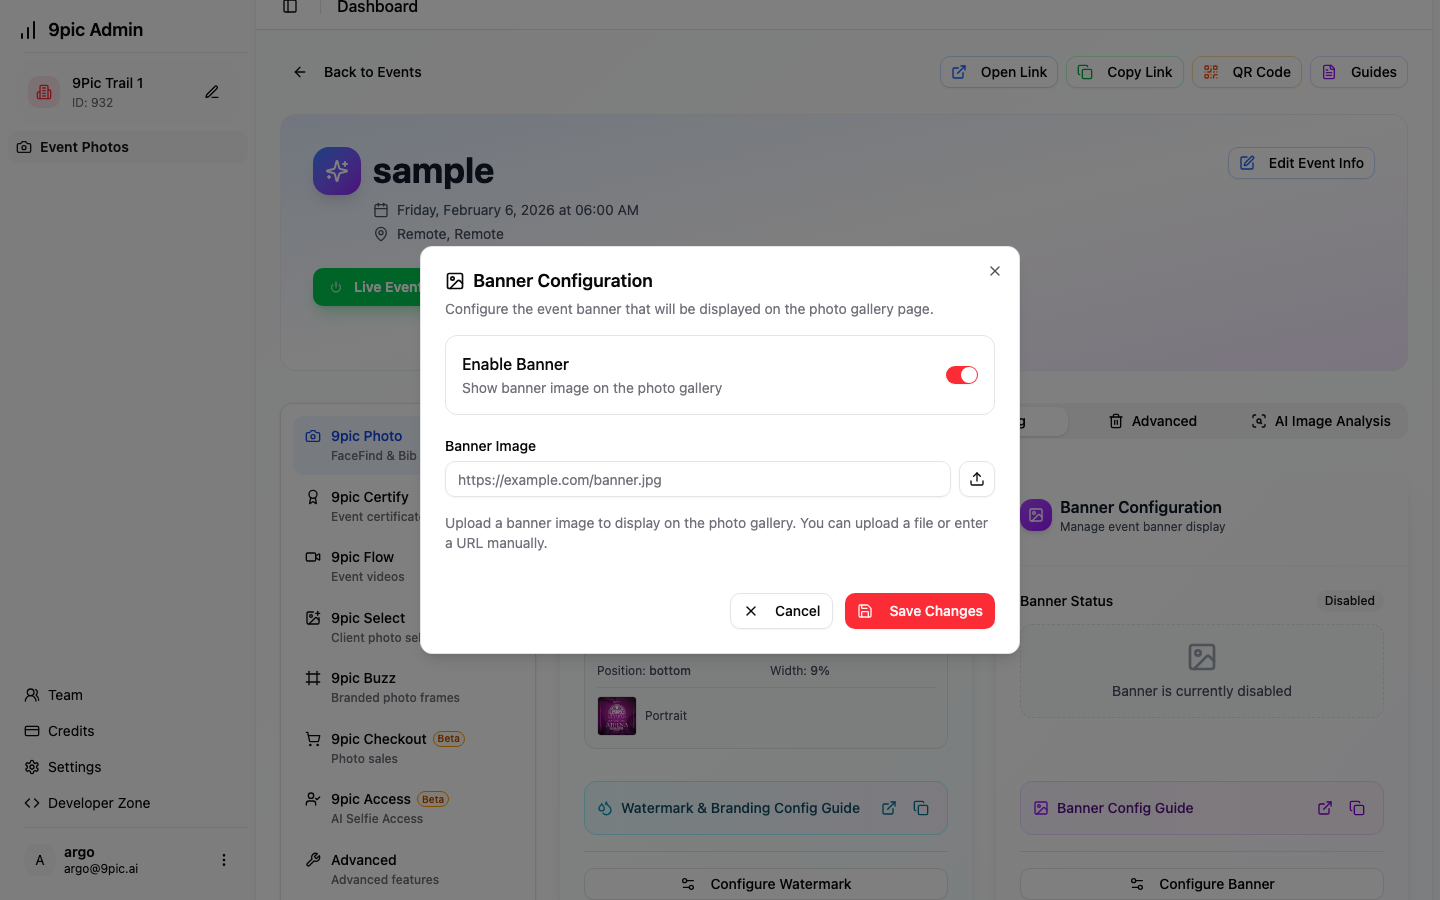
Recommended Flow
Common Questions
Why don’t I see my watermark on photos?
Why don’t I see my watermark on photos?
Generate Preview first, then run Start Processing. Watermarks only appear after processing.
Can I disable the banner without deleting it?
Can I disable the banner without deleting it?
Do I need different watermarks for portrait vs landscape?
Do I need different watermarks for portrait vs landscape?
You can upload both. If you provide both, the system uses the right one for each photo.