Want the full end-to-end setup (create event, add sources, sync, process, go live)?
Use the guided walkthrough: Create Your First Event.
Overview
Managing your events is the first step to using 9Pic AI. You can easily view all your past events or create a new one to start processing photos.Accessing Your Events
To see your events, navigate to the Event Photos section in the main sidebar.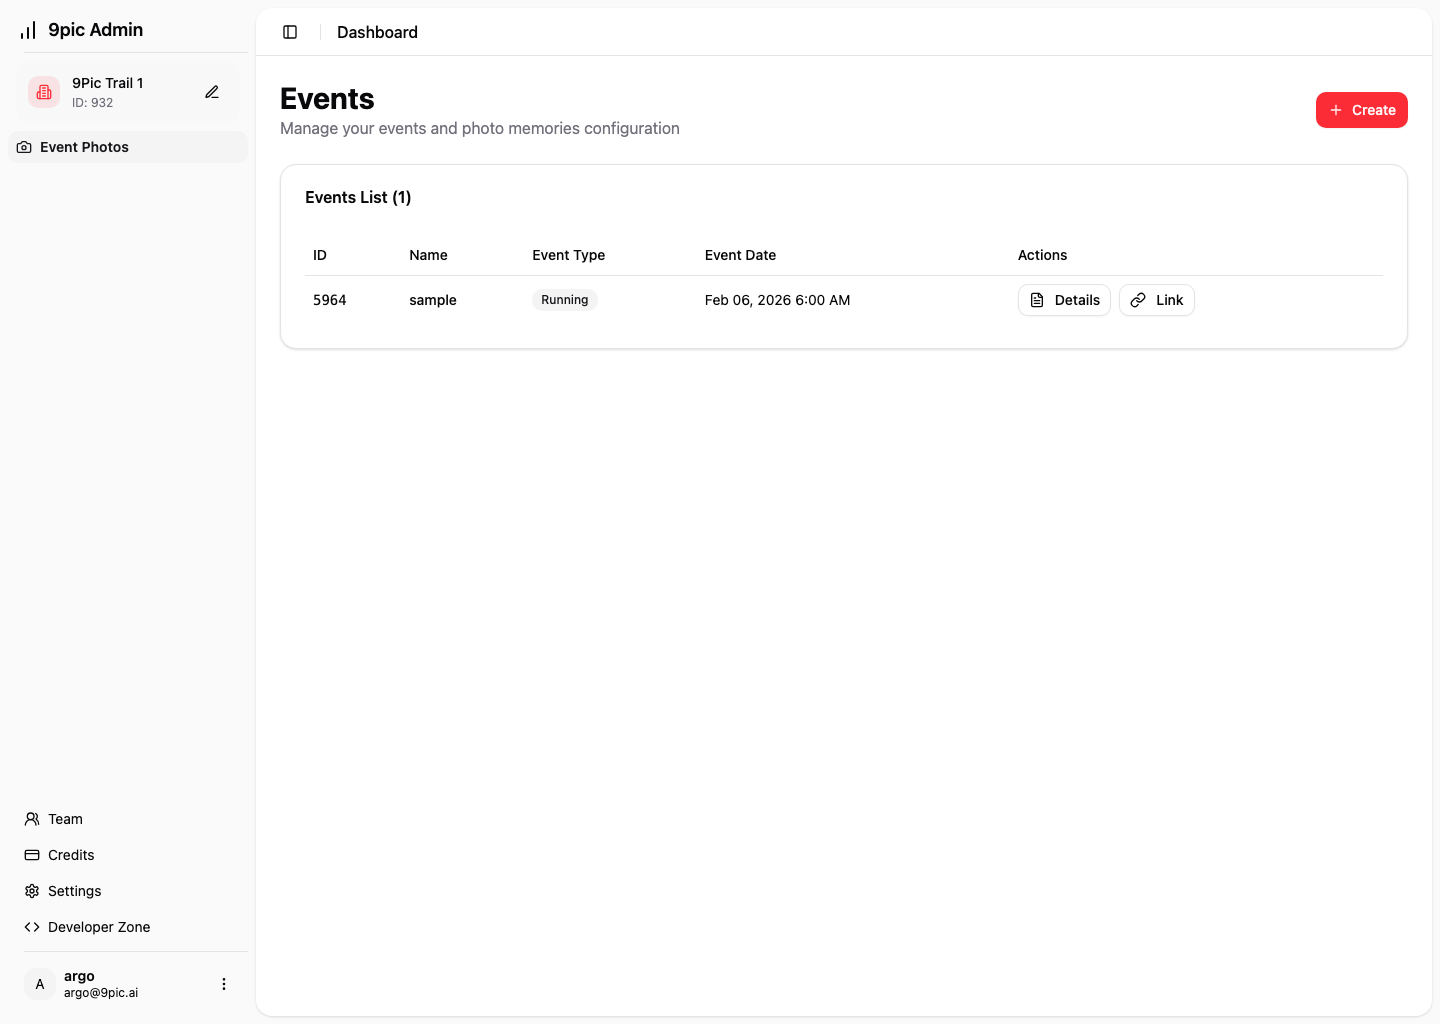
How to Create a New Event
If you are starting a new project, you can create a fresh event in just a few clicks.Fill in Event Details
Enter your Event Name, choose the Event Date & Time, and pick an Event Type (Running, Marriage, Conference, or General).
Configure Photo Memories
Choose how people can search and download photos, and decide whether to store original files.
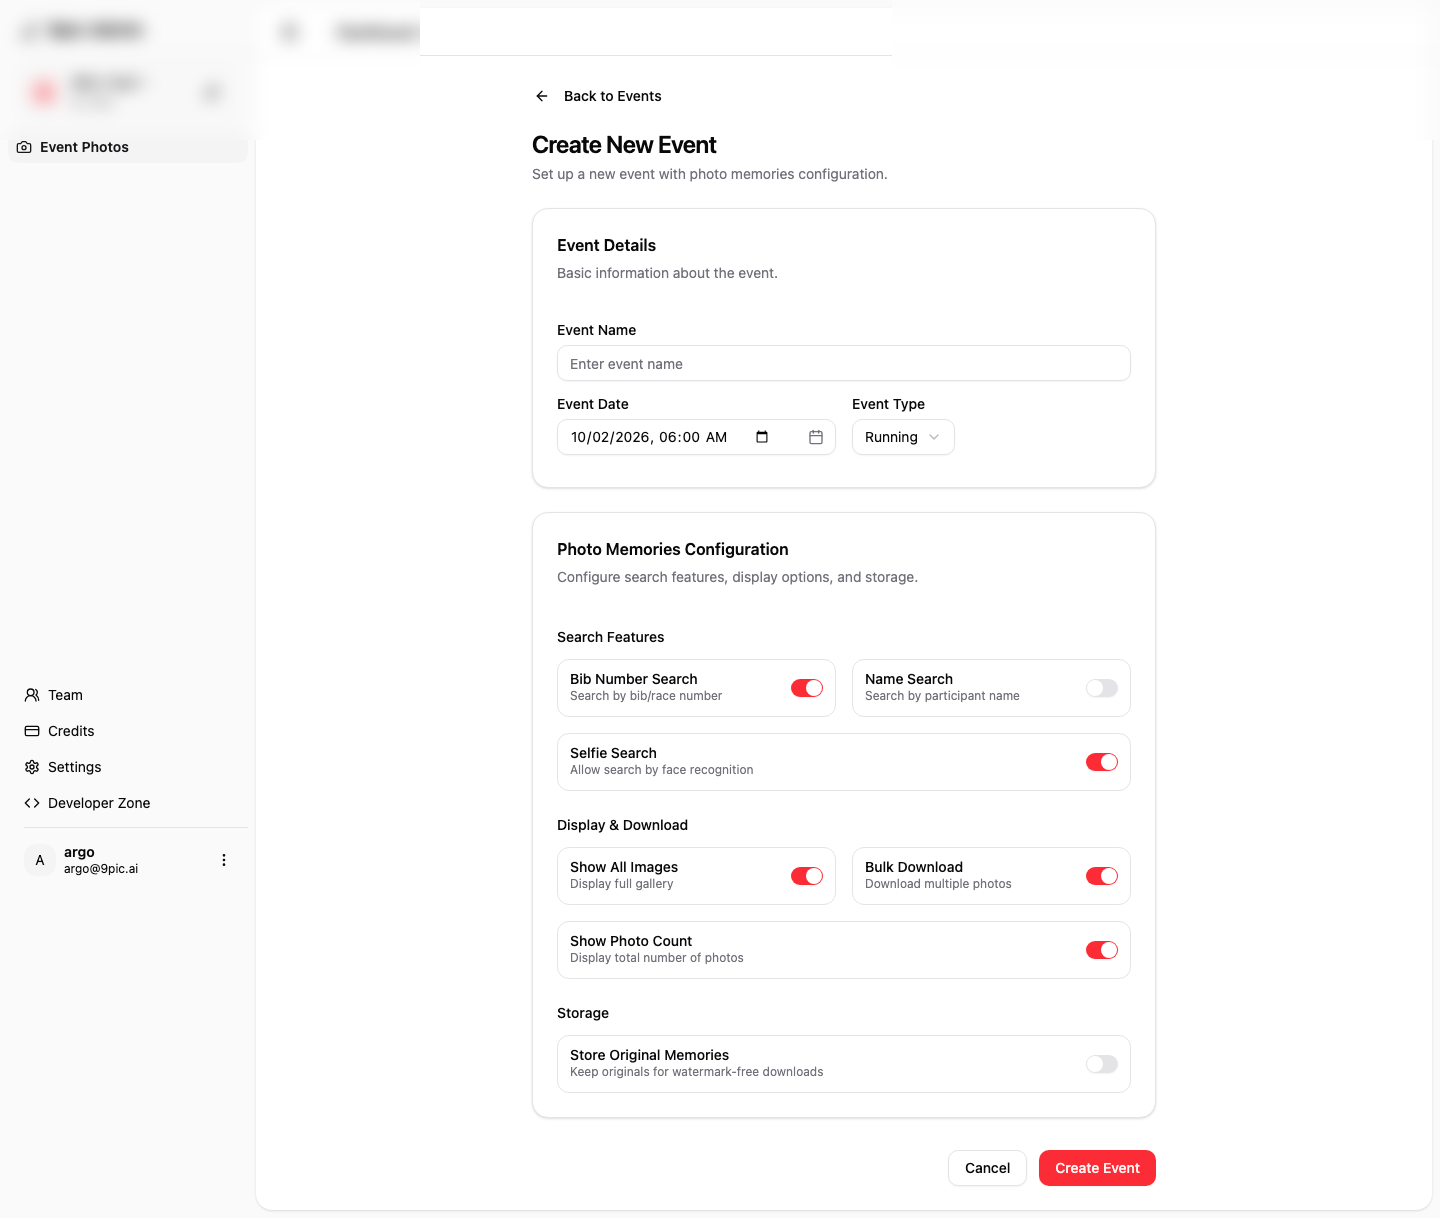
Event Details
The Event Details card covers the basics:- Event Name: The name shown in your event list and gallery.
- Event Date & Time: Set the date and time for your event.
- Event Type: Choose from Running, Marriage, Conference, or General.
Photo Memories Configuration
The Photo Memories Configuration card controls how guests discover and download photos.Search Features
- Bib Number Search: Lets runners search by bib number. Only available for Running events.
- Name Search: Lets runners search by participant name. Only available for Running events.
- Selfie Search: Lets guests find photos with face search.
Display & Download
- Show All Images: Displays a full gallery.
- Bulk Download: Lets guests download multiple photos at once.
- Show Photo Count: Shows the total number of photos in the gallery.
Storage
- Store Original Memories: Keeps original files so you can download images without watermarks.
The event location is set automatically to your Remote location. If you do not have a location named “Remote,” contact support to add one.
Next Steps
Configure Photos
Learn how to sync and process photos for your new event
Branding
Set up watermarks and banners for your event gallery