What You Will Achieve
By the end of this section, you should be able to:- Log in without confusion.
- Create an event with the right options.
- Add image sources and run the processing pipeline.
- Share a live event link confidently.
Before You Start
- Keep your 9Pic login email and password ready.
- Decide your event name, date, and event type.
- Keep at least one image source ready (9pic Uplink / cloud folder).
Most teams complete this flow in about 10-20 minutes for the first event.
Recommended First-Day Flow
Log in to the dashboard
Open admin.9pic.ai/login and sign in.
Run the processing pipeline
On Photos > Overview, run Generate Previews (optional), Sync Images, Start Processing, and Go Live.
Start With These Pages
Log In
Sign in and confirm where to click first.
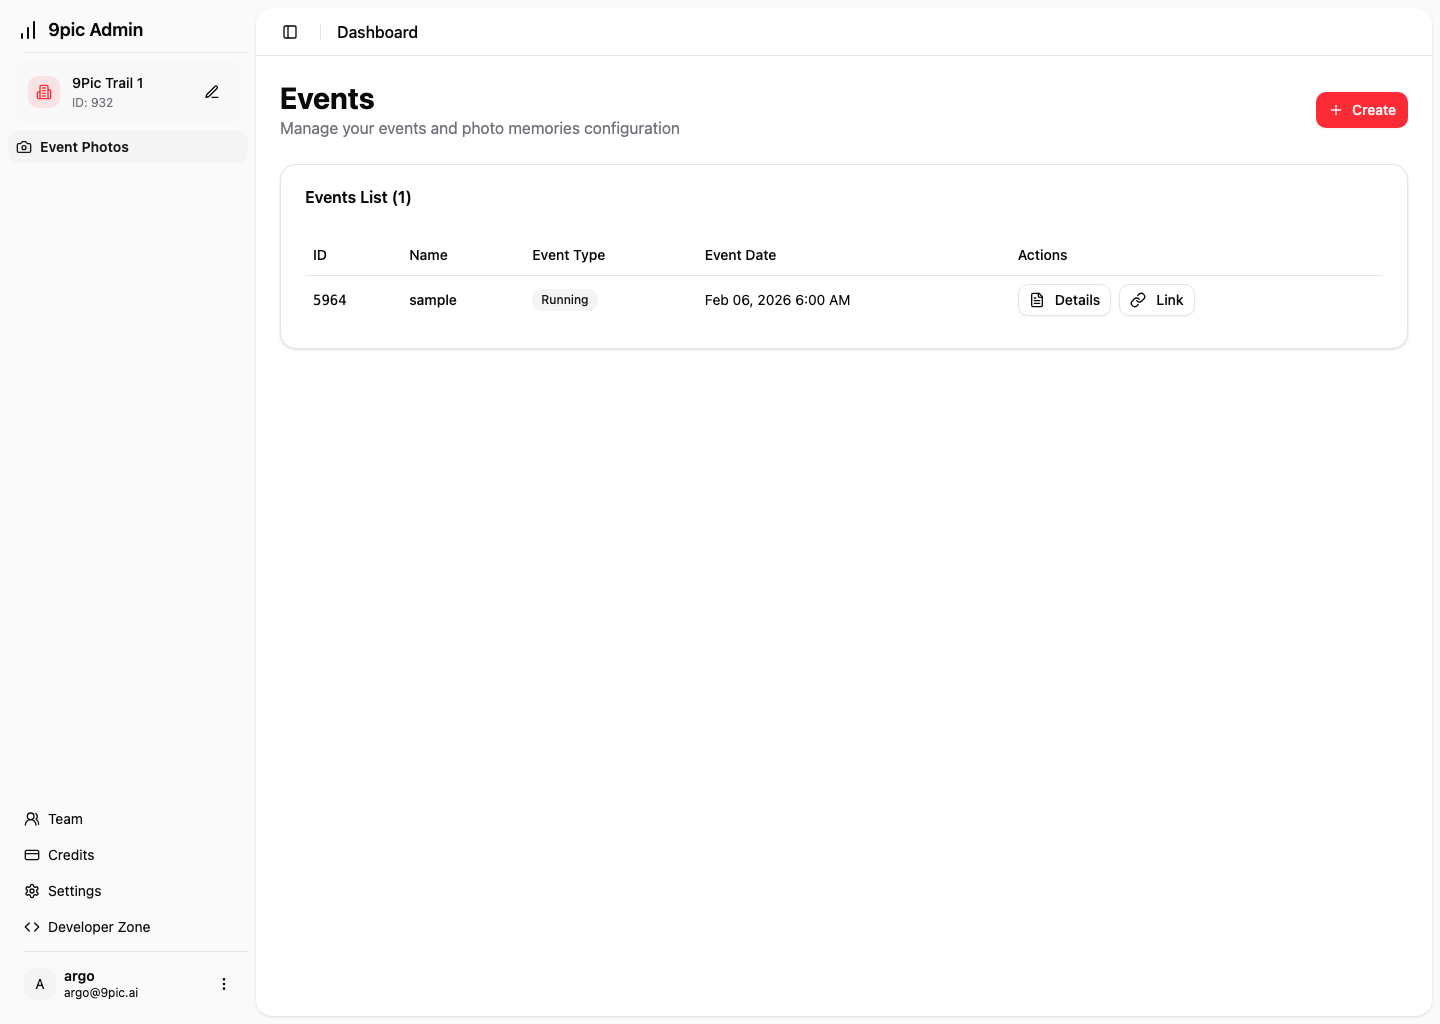
First Event Walkthrough
Complete event setup from creation to go-live.
Event Settings Reference
Understand each event setting in detail.
Photos Overview
Learn deeper controls once your first event is live.
Need help during setup? Reach out to argo@9pic.ai.