Why This Matters
Once you’ve decided on a plan, the upgrade flow itself takes a few minutes. This page walks you through what to expect so there are no surprises at the payment step.Before You Begin
- You finished evaluating your trial — see Compare Plans if you haven’t picked yet.
- You know which plan you want: Pay As You Go, Pro, or Enterprise.
- You have a credit / debit card ready (or your team’s payment method).
- You’re an admin of the organisation — only admins can purchase.
Your trial event data, team members, and settings all carry over. Upgrading does not reset anything.
Open the Upgrade Flow
Click Upgrade in the sidebar
On the trial, the dashboard sidebar shows a highlighted Upgrade button. Click it.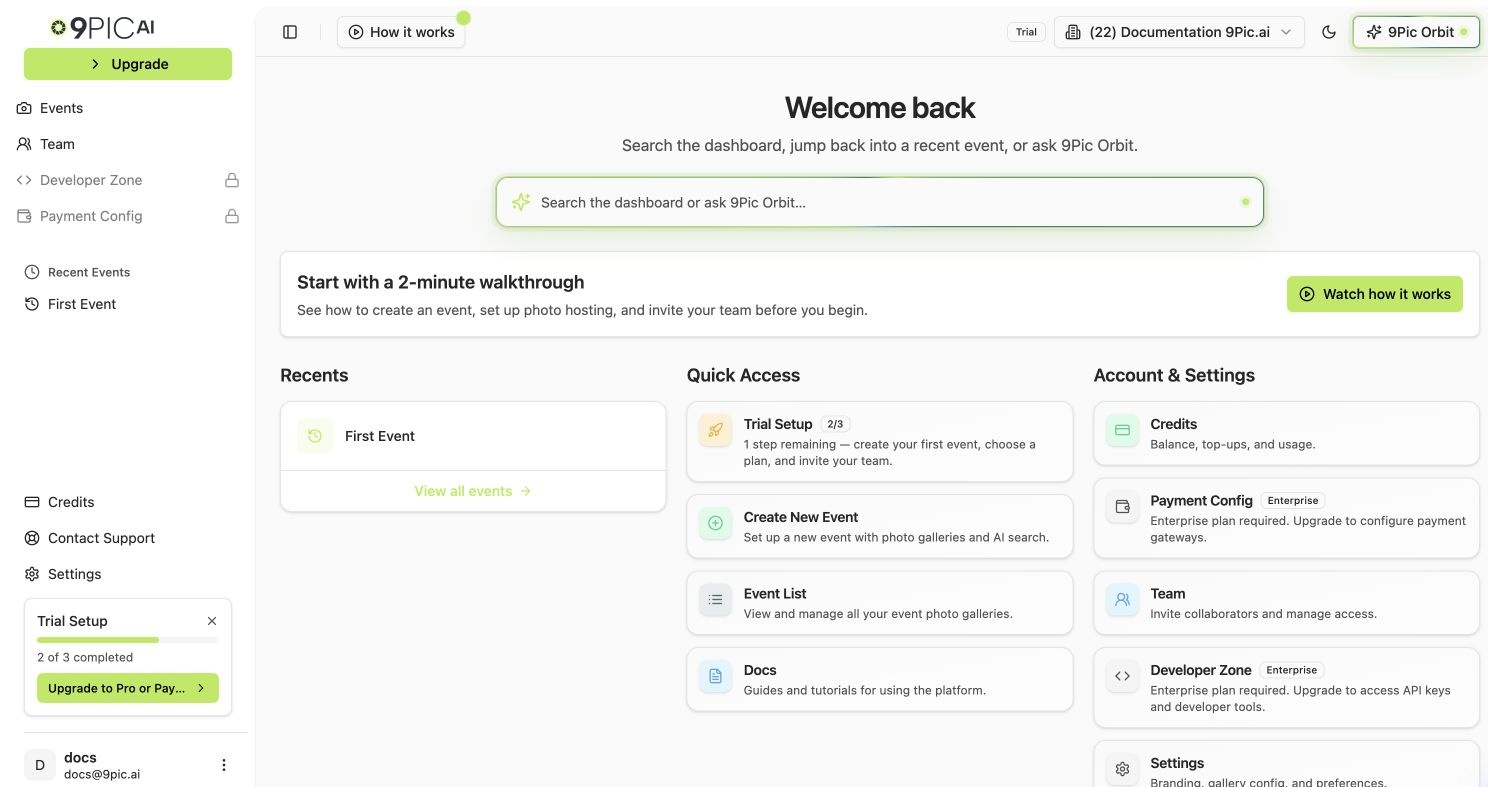
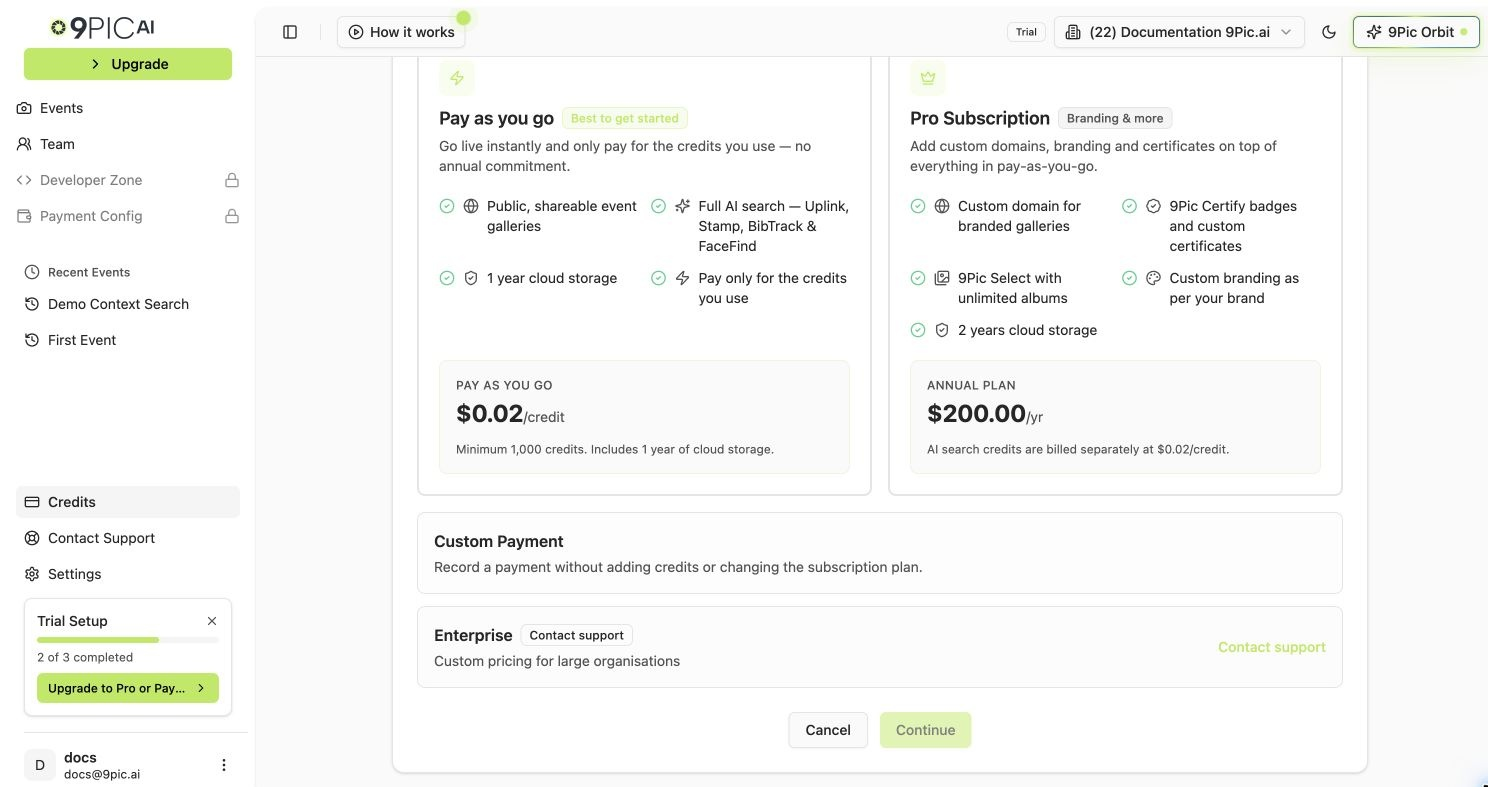
Step 1 — Choose Your Plan
You’ll see plan options based on your current state:- Pay As You Go
- Pro Subscription
- Enterprise
Pick Pay As You Go if you want flexible, usage-based billing without a yearly commitment.Continue to the credits step to choose how many credits to buy upfront.
Step 2 — Choose Credits
Pick how many credits to add. Use the table to pick a starting bundle that fits your event volume.| Event size you expect | Suggested starter credits |
|---|---|
| 500-1,000 photos | 1,000 credits |
| 1,000-3,000 photos | 3,000 credits |
| 3,000-10,000 photos | 10,000 credits |
| 10,000+ photos | Use Pay As You Go and top up as needed, or talk to us about Enterprise. |
Step 3 — Review
Review the order summary:- The plan you picked.
- The credit bundle.
- Currency — USD or INR depending on your organisation’s region.
- Taxes — if applicable, GST is shown for INR purchases.
- Total to be charged.
Step 4 — Payment
Complete checkout in the secure window
Enter card details in the payment gateway window. 9Pic does not see or store your card information.
Wait for verification
After payment, 9Pic verifies the transaction and updates your plan. This usually takes a few seconds.
If you need an invoice, open Credits → Billing & Transactions after the purchase. See the Credits Guide for invoice download details.
What Changes Right After You Upgrade
| Change | When it takes effect |
|---|---|
| Plan badge in sidebar | Immediately. |
Domain moves from trial.9pic.ai to app.9pic.ai | Immediately. From this point your event link works for real participant traffic. |
| Anti-abuse rate limits drop to normal production levels | Immediately, alongside the domain change. |
| Platform Visibility unlocks (events can be made public). | Immediately. |
| Pro creative tools (Certify, Flow, Select, Buzz, Motion) appear in event navigation. | Immediately, on Pro and Enterprise. |
| Credits balance increases. | Immediately. |
Custom domain setup option (e.g. photos.yourevent.com) | Immediately, on Pro and Enterprise. See Settings - Domain. |
| Trial banner disappears from dashboard home. | Immediately. |
If Payment Fails
- Card declined: try a different card or contact your bank. The order is not charged again automatically.
- Window closed before payment: the order is marked Abandoned. Just start the flow again.
- Charged but plan didn’t update: this is rare but recoverable. Take a screenshot of your gateway confirmation, then email support@9pic.ai. We’ll reconcile manually.
Common Questions
Do I lose my trial credits when I upgrade?
Do I lose my trial credits when I upgrade?
No. Any unused trial credits stay in your balance and combine with the credits you just purchased.
Will my existing trial events become public automatically?
Will my existing trial events become public automatically?
No. Existing events stay Private until you change their Platform Visibility setting yourself. The domain does change automatically — from
trial.9pic.ai to app.9pic.ai — but visibility is a per-event decision you control.Does my existing event link still work after upgrade?
Does my existing event link still work after upgrade?
Old links pointing at
trial.9pic.ai redirect to your new app.9pic.ai location. To be safe, copy the fresh link from the event header after the upgrade and use that going forward — especially when you’re finally sharing it with real participants.Can I upgrade mid-event?
Can I upgrade mid-event?
Yes. Plan upgrades take effect immediately. New features become available for all events in the organisation, including the one you’re already running.
Can I get a refund if I change my mind?
Can I get a refund if I change my mind?
Refunds are governed by the refund policy you accept at checkout. For special cases, email support@9pic.ai.
Does my team get notified when I upgrade?
Does my team get notified when I upgrade?
Existing teammates don’t receive a special notification, but they’ll see the new plan badge and creative tools when they next open the dashboard.
Next Steps
Credits Guide
Full reference for balance, usage, and invoices.
Settings - Domain
Set up your custom domain (Pro and Enterprise).
Dashboard Guide
Beyond the trial, the full reference for running events.
Contact Support
Issues with the upgrade flow or your invoice.