

Overview
The Configuration tab controls how participants find and use their photos on the public event page. Everything lives in one Feature Configuration card. A menu on the left (a row across the top on a phone) shows one section at a time:- Search methods — Selfie Search, Bib Search (with its detection rules), Context Search and Name Search.
- Context tags — appears while Context Search is on.
- Names from your CSV — appears while Name Search is on.
- Viewing and downloads — All photos, Photo Timeline, photo count and bulk download.
- Photo albums — the albums switch, what the album editor sets, and a link to it.
- Photographer credits — the credits switch, what the credits editor sets, and a link to it.
&subtab=context), so you can bookmark or share a link to it, and dashboard search opens it directly. Event language is managed in Event Config under Language. A badge in the card header shows how many features are on, for example 4 / 10 enabled.
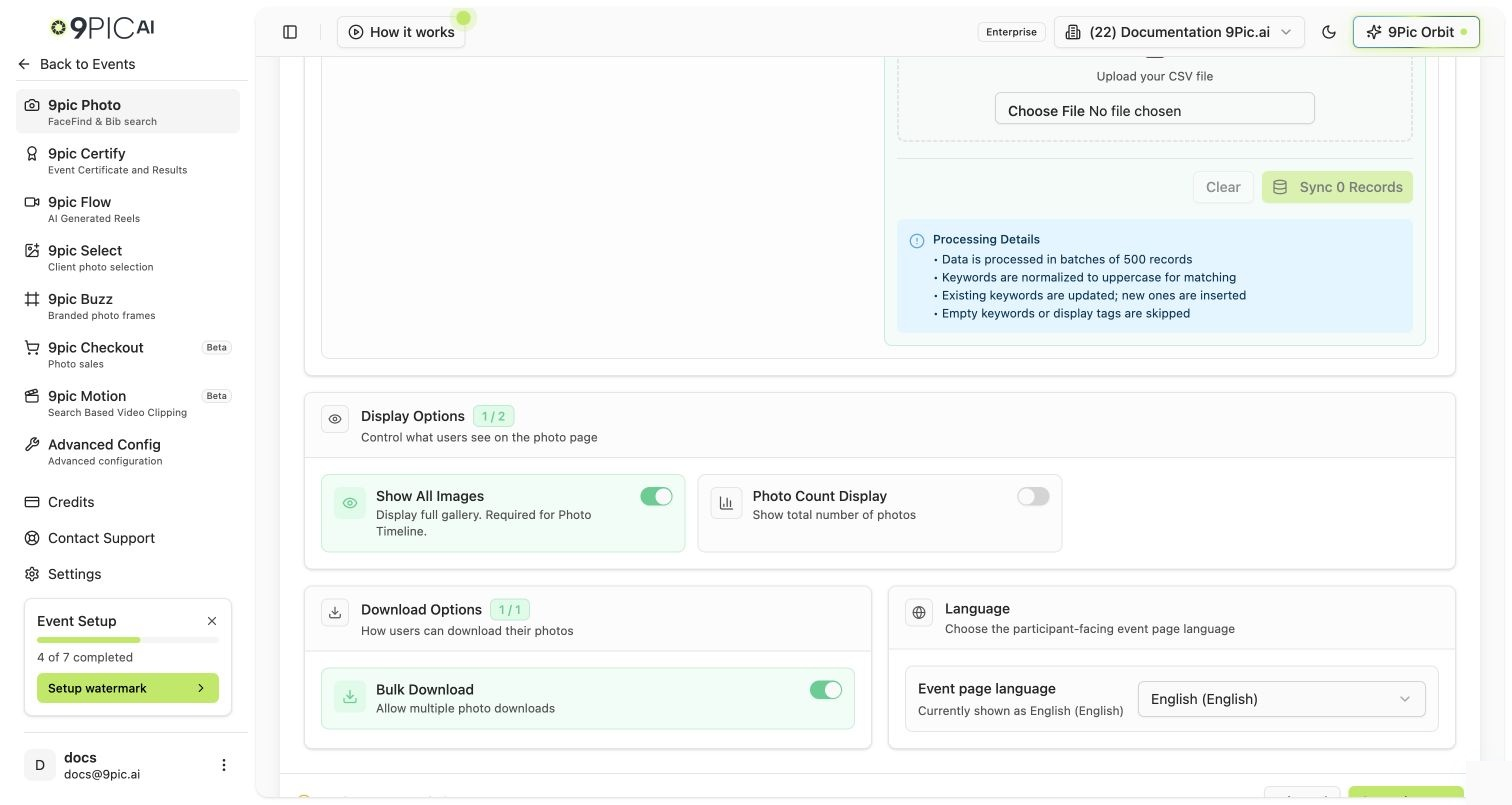
Feature Configuration
Search methods
Context Search and Name Search are always listed. If you switch one on while Bib Search is off, the row explains that Bib Search is needed and offers Turn on Bib Search, which turns on both.
Bib detection
Turn on Bib Search and its Bib detection rules appear right below it. Each rule has its own switch and Configure:- Digit count — accept bibs within a minimum/maximum digit range.
- Range-based — define numeric ranges for categories (for example,
1–500and1001–1500). - Pattern-based — define detection patterns for non-numeric bib formats.
1
Show AI your bibs
Select Upload CSV and choose any CSV with a bib column, such as your registration export (up to 10 MB and 20,000 bibs). Check the Bib column. The file is read in your browser and isn’t stored. Or paste some bibs. In Paste a few bibs, or describe them you can also describe formats in words, for example “VIP guests get bibs like VIP-01”. Select Generate formats. New formats are added next to the ones you saved. 9Pic AI reads the note only when it contains words, and it asks no follow-up questions. Start blank opens an empty list.
2
Tick the groups bib search should find
Your bibs are grouped by how they look. Each group is a shape:
# is any digit, @ any letter, [02] only those characters, and anything else must match exactly, so M-#### finds M-0001 to M-9999. Looks that belong together are joined into one group: numbers of different lengths (1 to 5000), the same bibs with and without a separator, and four or more letters in one position. A note beside the shape says so, for example fewer OK or dash optional. Your bibs may be partial, so the lengths between them are filled in (M-7 and M-1500 become M-#### with fewer OK). After a CSV upload, Is this every bib? starts at No, more to come; choose Yes, all of them to keep only the lengths in your file. Shapes very few bibs use start unticked under Rare, probably typos. Formats read from your note are marked From your note. Bib search finds X of the Y bibs in your CSV counts the ticked groups.3
Adjust a group if needed
Click a group’s shape. Click a character and choose Always the same, Any digit 0–9 or Only some (then pick the allowed digits), or type an exact character in Character. Use + between characters to add one and Remove to delete one. Under Also accept, Fewer digits OK lets the last number be shorter, so M-1 fits as well as M-0001, and down to sets the fewest digits. Without the dash (or space, dot, slash) lets that separator be left out, so M0427 fits as well as M-0427. A warning shows when bibs from your CSV no longer fit.
4
Add, check and save
Add bibs not in your CSV turns a typed bib, like VIP-01, into a new format. Try a bib shows whether a bib would be found and which format finds it. Try your highest bib: if it isn’t found, Find bibs like it stretches the group to that length or adds a new format. Select Save formats in the unsaved changes bar. Saving turns pattern detection on, or off when nothing is ticked, and keeps Digit count, Range-based and other Photo settings. When Pattern-based is off, saved formats open unticked. Patterns you didn’t change are saved back exactly as they were. Discard returns to the saved formats.
M-#### or a full pattern from ^ to $. Lines are checked when you select Apply, and nothing is saved until Save formats. Saved patterns that can’t be shown as a shape are listed under Patterns written as text and kept as written.
Bibs are identifiers: every zero counts, and capital letters don’t matter. Use Range-based for exact number intervals. 9Pic AI accepts only bib formats; it runs one request per account at a time, with limits of 5 per minute and 100 per day. Unsaved changes are not kept when you leave the page. If someone else changed the event’s patterns while you were editing, saving stops; select Load the latest and redo your change.
Generating and adjusting formats don’t change event settings until you save. Other enabled strategies can independently accept bibs, and formats can’t guarantee coverage of bibs you haven’t seen. These steps don’t upload Name Search mappings.
Context tags
Turn on Context Search, then choose Context tags below it or in the menu. Use Upload CSV to map a keyword column to a display tag column, or Manual entry to type keyword and tag pairs. Several keywords, such as different spellings of a brand, can share one display tag.Names from your CSV
Turn on Name Search (or the Exact bib list rule below), then choose Names from your CSV below it or in the menu. Upload the CSV, map its bib column and, if you have one, its name column, review the preview, and sync the valid rows. Not sure of the layout? Click Sample CSV to see an example and download it. Columns named like bib, Bib Number, name or Full Name are picked for you.Exact bib list
Under Bib Search → Bib detection, turn on Exact bib list to make search use only the bibs you upload. Stray numbers in photos, such as a km marker or “5K” read as bib 5, are then ignored. Click Upload list to add the bibs in Names from your CSV. A file with just a bib column is enough; names are optional. Click Save changes, then republish the event to apply it. Bibs you add in Manual Tagging always count. To fix a synced name, open Check and Validate Names, search by bib or name, edit the intended row, and save a non-empty name. The bib itself cannot be edited here. If that participant has a certificate record, its name is updated too. To take bibs off the list, click the delete icon on a row, or tick several rows (or the box in the header for the whole page) and click Remove from list. This doesn’t delete the bib’s photos or certificate; the bib just can’t be found by name and no longer counts for the exact bib list. Use Manual Tagging to correct bib tags on a photo.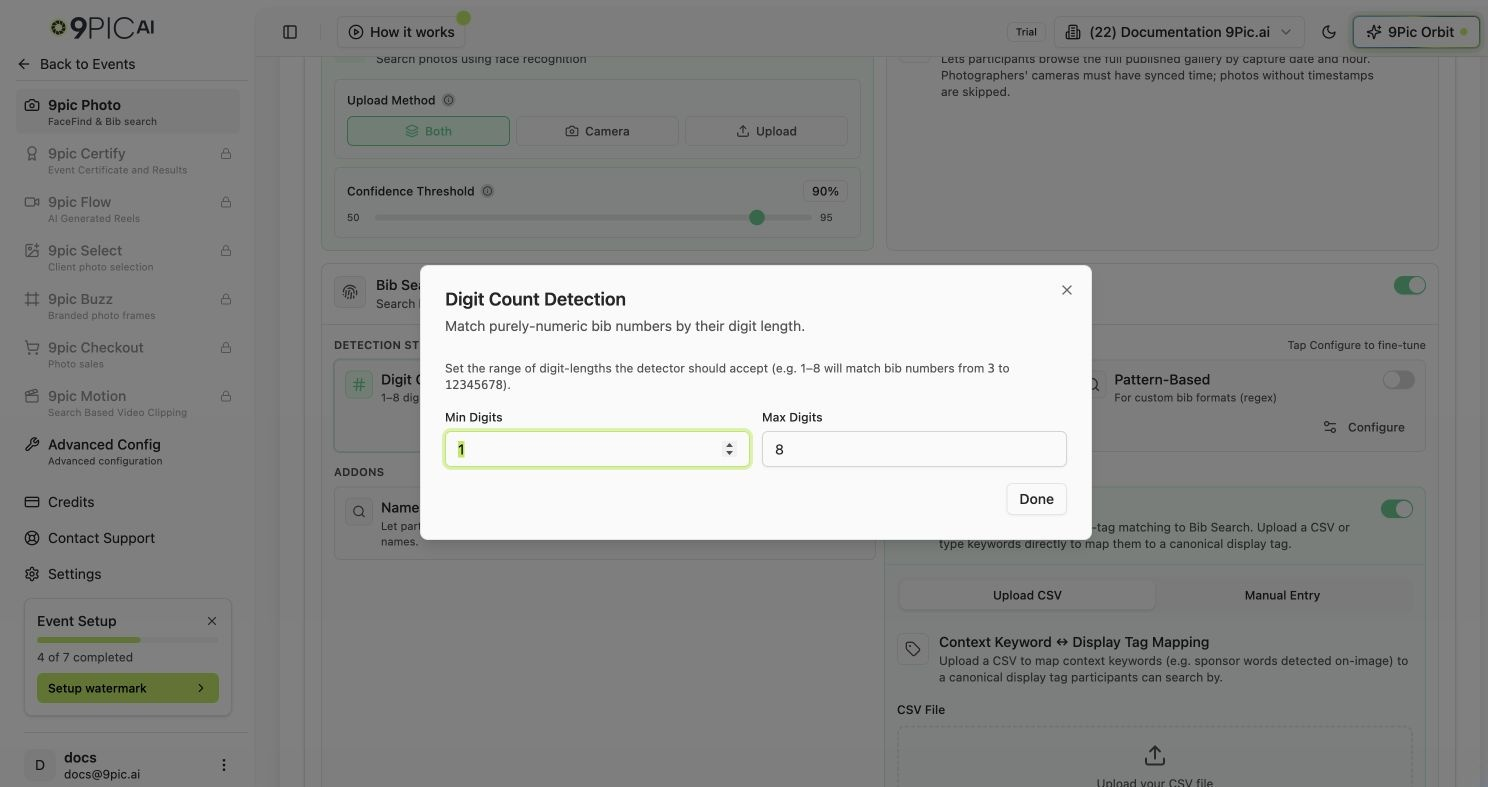
Bib detection settings
Viewing and downloads
Photo Timeline is always listed; switching it on without All photos offers Turn on All photos.
Photo albums
The Photo albums section shows the switch, what the album editor lets you set, and how many albums are shown.1
Enable album browsing
In the Photo albums section, turn on Photo albums (it offers Turn on All photos if needed), then save Configuration. Add a photo source if the event has none.
2
Name and show albums
Open Configure albums. Every album from every source is one row with its photo count. Type the Album name in the row and turn on Shown for albums participants should see. Show all turns on every hidden album that already has photos.
3
Arrange, preview and save
Drag rows to set the order participants see; All Photos is always last. Open a row’s cover to edit its cover, banners and description. Select Participant preview to see the album page on a desktop or phone, unsaved changes included, then select Save changes.
1_ sets the folder’s starting order and is left out of the album name. A Drive link that points straight at the photos stays one album for the whole source.
Split into subfolders creates albums from child folders. Refresh subfolders checks for changed children; Undo split returns to the parent album. Photos directly inside a split parent appear only in All Photos. Renaming an album does not rename the source folder.
Photographer credits
The Photographer credits section shows the switch, what the credits editor lets you set, and how many folders have a photographer name.1
Enable attribution
In the Photographer credits section, turn on Photographer credits and save Configuration, then open Configure credits.
2
Add credit details
Choose the source or folder and enter the Photographer name. Optionally add a website, promotional link, short message, and Instagram or Facebook username. The short message can contain up to 200 characters.
3
Review and save
Review the preview and fix invalid links or handles, then select Save changes. These edits have their own save action, separate from Configuration.
Common Questions
Do I need to click Save after toggling a feature?
Do I need to click Save after toggling a feature?
Yes. Switches are staged until you click Save changes on the bar that appears. The dashboard warns you if you try to leave with unsaved changes.
Why is Bib Search not finding some bibs?
Why is Bib Search not finding some bibs?
Open Bib detection and widen the digit range or add explicit ranges for your event’s categories. For unusual formats, Pattern-based → Configure can generate patterns from your bib list.
Can I enable Name Search without Bib Search?
Can I enable Name Search without Bib Search?
No. Name Search needs Bib Search and a bib-to-name CSV. If you switch it on while Bib Search is off, choose Turn on Bib Search, then upload the CSV in Names from your CSV.
Where do I set bib search up for the first time?
Where do I set bib search up for the first time?
Bib Search is offered when the event type is Endurance Sports. See Create an event for choosing the event type.
Next Steps
Photo Overview
Sources, sync, processing, and publishing.
Manual Tagging
Fix bibs the pipeline missed and add context tags.