

Overview
9Pic Select is a photo-culling workflow: clients or teammates review the gallery and mark which photos to keep, so only the best images are processed or delivered. Select has three tabs:
Open it from an event’s product navigation: 9pic Select.
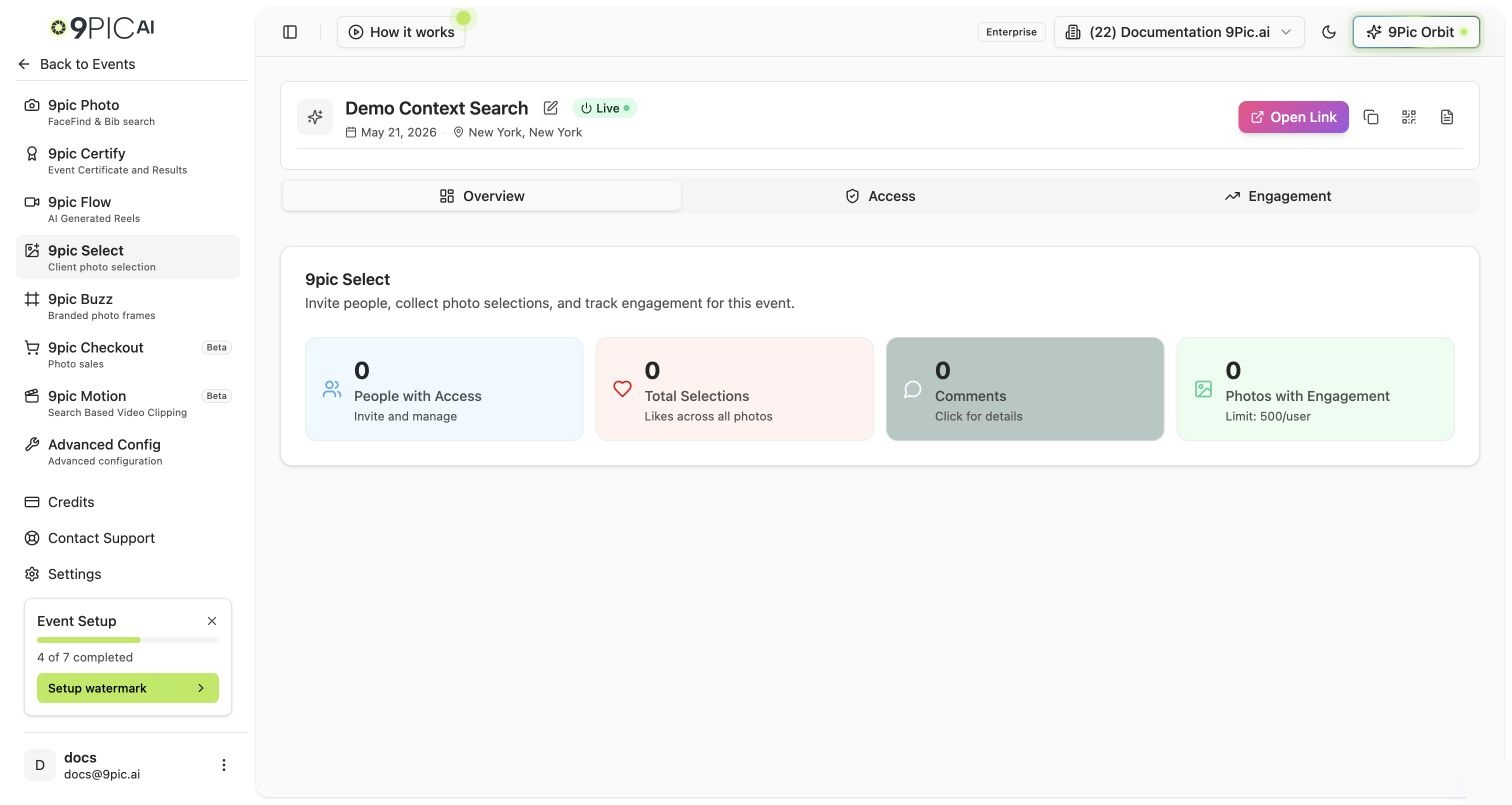
9Pic Select overview
Manage Access
The Access tab controls who can use the selection tool for this event. Enable the specific clients or teammates who should review photos; everyone else can’t open the selection workflow.- Choose Invite & Manage, then Invite One Person to send one invite email, or Upload CSV to invite many at once (only the email column is used; Download CSV Template gives you the layout). You see a preview of valid, duplicate and invalid rows before the invites go out.
- Invited people get an email and must continue with the same email address on my.9pic.ai to open the event. There they can like and comment on photos.
- Selection Limit sets the most photos each person can select for this event. Choose Save next to it.
Select is for review and approval, where a client picks photos as part of delivery. If you only want a client to see the gallery, sharing a private event link is simpler.
Track Selection Activity
The Engagement tab shows real-time activity: how many photos have been reviewed, how many selected, and remaining workload. Use it to see when a client has finished selecting.Getting Started
1
Confirm your plan
Select needs the Pro plan or above. Upgrade from Credits & Billing if it’s locked.
2
Enable reviewers
On the Access tab, turn on access for the people who will review photos.
3
Review and track
Reviewers select photos; watch progress on the Engagement tab.
Next Steps
9Pic Photo overview
Process and publish the photos you keep.
Credits & Billing
Understand how processing volume affects credits.